Affiliate links may be included for your convenience. View our privacy and affiliates policy for details.
Knitting is, basically, my job. This week’s Iron Craft challenge was all about using needles, and I knew I didn’t want to just knit something.
So, I cheated. I actually crocheted a couple of things. Crochet uses a hook, not a needle, but I think the point of the challenge was more to get us to spend some time with a contemplative craft rather than specifically the use of the needle.
I had some clothesline I’d picked up at the dollar store probably last summer that I always intended to knit into placemats or something, but I decided last weekend to crochet a little basket with it instead.
This little cutie would be great for holding little balls of yarn, stashing your plastic utensils at a backyard picnic or holding anything else small you like.
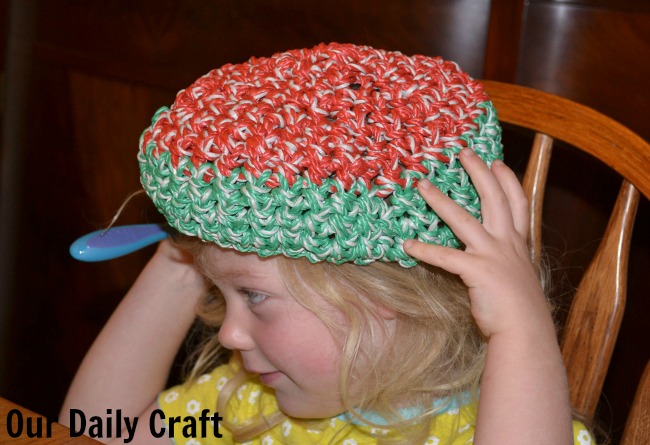
The Bit thinks it makes a fine hat. I have to agree with her.
What You’ll Need
- 2 packages of plastic clothes line, 70 feet each
- size P/10 mm crochet hook, or whatever size you can work with reasonably comfortably
What You’ll Do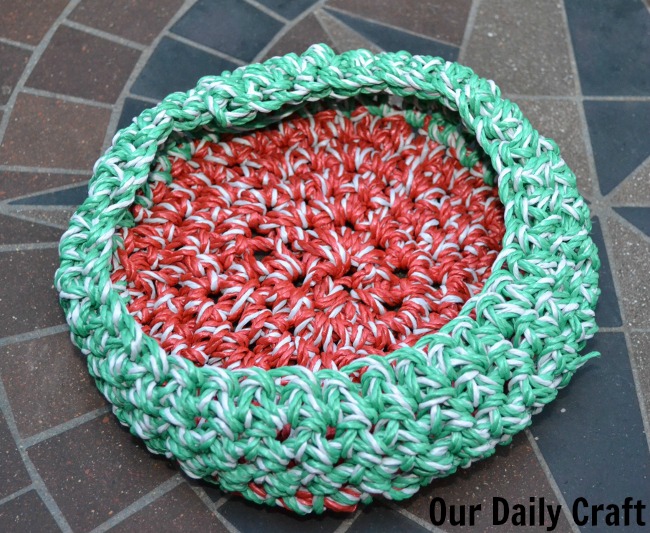
Note: I am not much of a crocheter so I’m sure I’m not using the right vocabulary. It’s not that hard, though, so I’ll bet you can figure it out.
- Chain 4, then make a slip stitch into the first chain to form a loop.
- Single crochet 8 times into the loop. Make a slip stitch into the chain at the end of the round to close the loop.
- Chain 1, then work two single crochets into each stitch of the previous round. Form a slip stitch at the end of the round.
- Repeat this round.
- Chain 1, then work two single crochets in the first stitch and one in the next stitch, repeating around the work. Form a slip stitch at the end of the round.
- Repeat this round.
- From here, single crochet in every stitch of every round, remembering to chain one at the beginning and join with a slip stitch at the end of each round. Change balls/colors when needed and keep going until you run out of line. If you want to be really fancy, you can stop at the end of a round or just go til you run out.
- Use the crochet hook to weave in your ends as best you can and to close up the hole at the bottom.
Bonus Washcloth Project
Because I realized crochet is a great way to stash bust a lot faster than you could with knitting, I was looking around that same evening for something else I could crochet. I found a little ball of cotton left over from my book (it’s coming out in a month! Eeek!) and a crochet hook that worked with it. 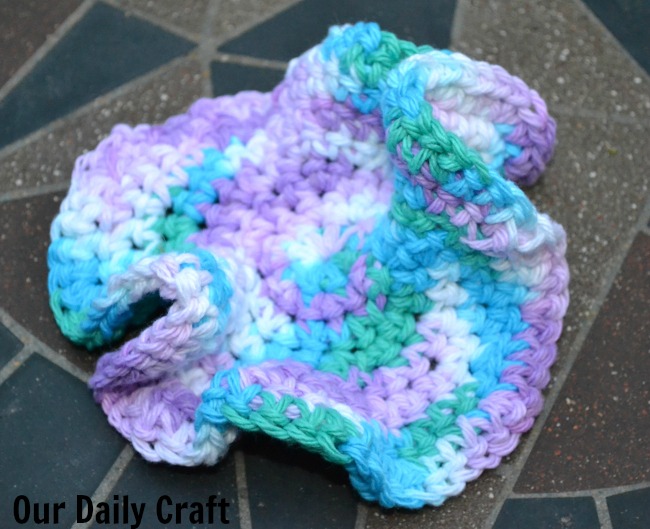
I did basically the same kind of increasing from the center, starting with two single crochets in every stitch, then two and one alternating, then two every third stitch, then two every fourth (if that makes any sense, I just kept increasing the distance between the stitches that got two stitches worked into them, and just did one stitch in the stitches in between). I thought that would produce something relatively flat, but it didn’t.
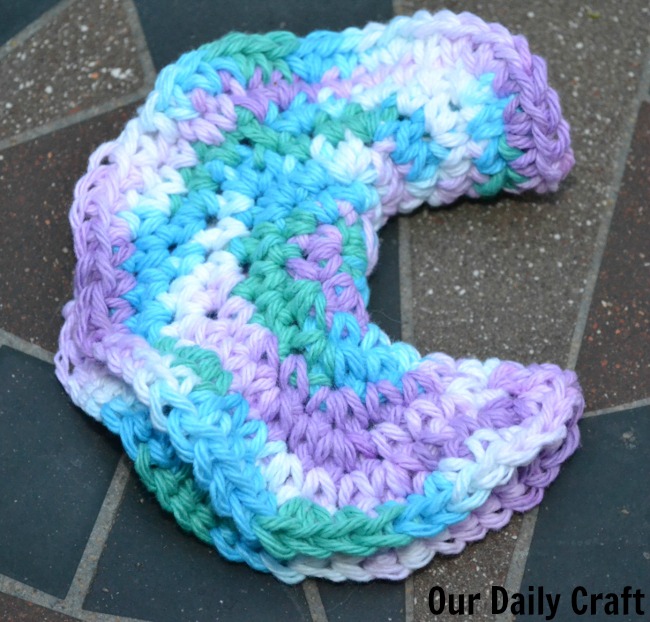
I’m thinking of sewing it up in this shape and calling it a fortune cookie washcloth.
The Bit didn’t mind and has already declared it hers.
You may have noticed everything I make ends up being hers. It’s not too bad of a deal.
This post is linked to Monday Funday at C.R.A.F.T. Check it out for tons more great crafty ideas.

2 Comments
Did you find working with it hard on your hands? When I worked with rope I found it tricky.
Yes, it’s pretty difficult. But this is such a quick project, even with taking breaks it only took a couple of hours to make. Small sacrifice for such a cute…hat? 😉