Affiliate links may be included for your convenience. View our privacy and affiliates policy for details.
This is not at all a craft I can claim to have come up with on my own. It seems like everything is getting wrapped in yarn this year, from letters to cones that then look like Christmas trees. It’s an adorable trend and one I — as a lover of yarn and person who has way too much of a supply — hope to see continue for a long time. 
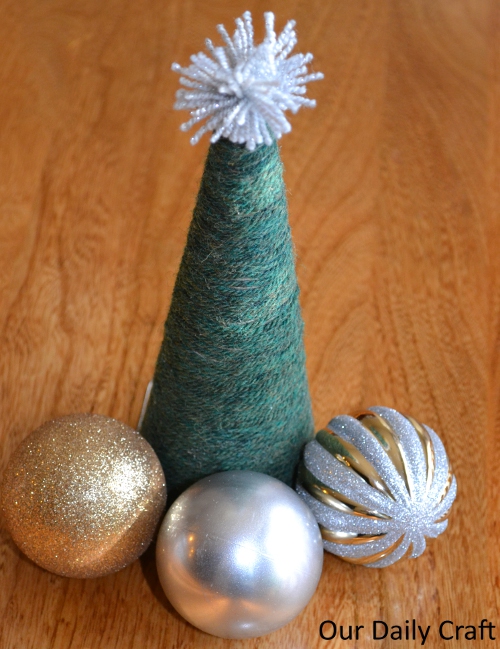
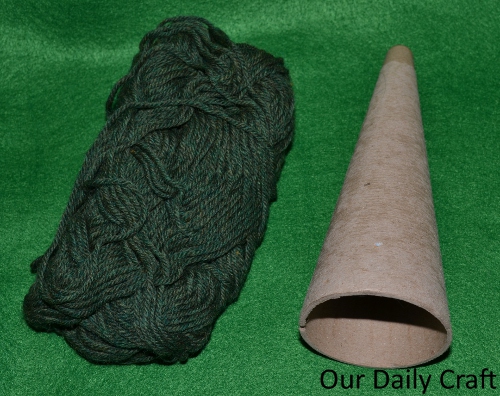
So I’m doing my part with this easy yarn wrapped cone with pom-pom “star” on top. It’s completely a yarn craft; even more so in my case because the cone I used is from a cone of yarn!
You could use this cute tree as a centerpiece for the table, or make a collection of them to grace the mantel or whatever other flat surface might need a bit of holiday sprucing. I’m tempted to keep mine on my desk in my office so I can remember it’s holiday time (as if the long list of holiday craft projects I want to get done won’t remind me enough!).
What You’ll Need
- something cone shaped: you can use a floral cone, a cardboard cone like I did, or make your own cone from a paper plate
- green yarn (or another color, or a mix, or whatever) mine happens to be wool but no judging here
- Elmer’s glue
You may wonder why I care what kind of glue you use. Well, this almost turned into a Craft Fail because I started out using my trusty glue gun, with hilarious results.
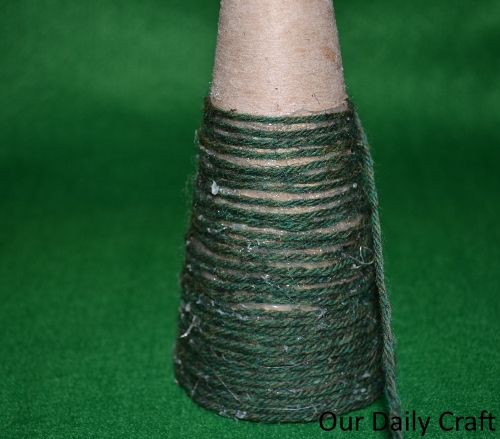
So skip that part and use regular white glue, OK?
What You’ll Do

- Lay out a bead of glue.
- Put the yarn on top.
- Repeat all the way around the cone, trying to get the yarn as close together as you can.
Making the Pompom
- Cut a little piece of cardboard or cardstock to half the size you want your finished pompom to be. I used an old business card and it’s about half an inch wide.
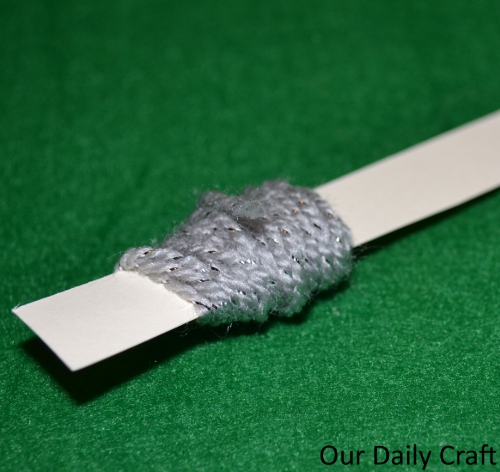
- Wrap yarn around it a bunch. I wrapped 50 times, but you can do more or less depending on how full you want your pompom.
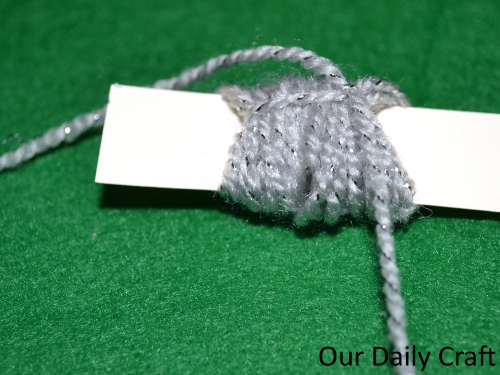
- Cut the yarn, then cut a length of yarn and slide it under the pile of yarn you just made. If you can’t get your fingers in there, use a crochet hook. Tie the yarn around the pile and make a couple of knots.
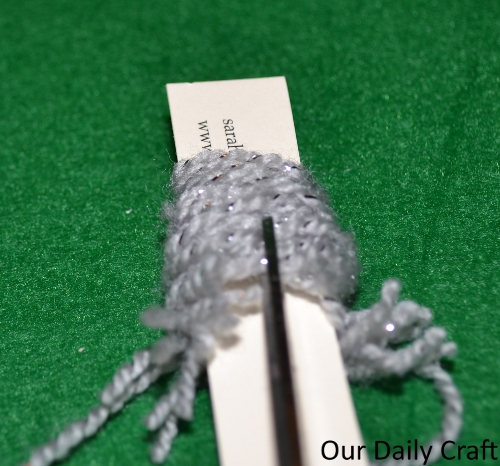
- Turn your project over and cut the yarn down the middle.
- Trim ends and glue to the top of your tree.
Project Ideas
- You could make this project in multiple colors — either making several different trees, doing an ombre effect on one tree or just using lots of different colors on a single tree.
- Embrace the delightful imperfections of kid craft and give your child a cone and some yarn (either a big ball or some long strands) and some glue and see what happens.
